Showing posts with label Inglot6ss. Show all posts

Tuesday, 12 May 2015

Plum Coloured Smoked out Winged Eyeliner

Winged Out Liner Eye Look


Hi everyone!
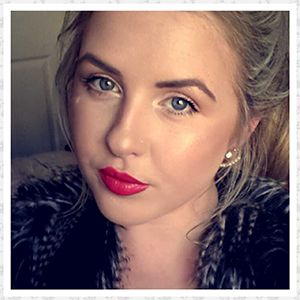
 So today I am going to posting about how I achieved this Plum coloured eye look with a dramatic winged eye liner!

Please Subscribe  if you like the look!


Step One:

So firstly it is so important that you start off any make up look with a fresh clean base. 
I have got into this new routine of double cleansing! But that post will be for another day! On this occasion I applied my moisturiser from Ponds. I left it then to absorb into the skin whilst I started doing my eye make up.
Its important to let your cream absorb, otherwise it does not plump up your skin, and this means your fine lines and pores are still obvious. 
Just to note that on this occasion I did not use a primer!

Step Two:

I concealed my eye lids with my Mac Pro Long Wear concealer in the shade NW20. This preps my eyes for eye shadow and concealer and pigment I may have on my lid. I also like to set this concealer to stop my lids from creasing. I used Rimmels Stay Matte all day powder in the shade Translucent.

Step Three:

I then applied sellotape to the outer corner of my eyes in an upwards direction. Personally I have hooded eye lids so this helps to open up my eyes! BONUS!

Step Four:

Buff in a transition shade to your crease, I used Make Up Geeks Peach Smoothie.
Take your time on this step and use a fluffy brush like the Inglots6ss.

Step Five:

I then swapped brushes to Mac 217 as it tends to apply eye shadows a little more precisely.
I dipped my brush into Macs eye shadow called Haux. I blended this into my outer crease and blended it back and forth into the crease. Just a tip I always tap off the excess pigment from the brush. 

This photo just shows how your eyes should look!


Step Six:

I then began to add more Plum coloured eye shadows to the look. I applied Macs Sketch eye shadow to the lid. For this I used my finger as it applied more product. I love this eye shadow I think it is perfect for Blue eyes people! After I applied this to my lid you will begin to notice harsh lines back in your crease! 

Step Seven:

Now you need to get a clean Blending brush like a Mac 217. I then Buffed in the Haux eye shadow to my crease again. this should give your eye shadow a gradient look.

Step Eight:

I then added a mix of Honey Lust and Phloof Mac eye shadows to the inner corner to brighten the eye! This added a lovely pop of colour!

Step Nine:

For me the Gel eye liner is the trickiest part! I have defiantly not mastered this skill as of yet!
I used Inglots Gel eye liner in 77 with an angled brush. I took my time and built up the liner. Please do not draw on your liner in one single motion, take it in steps and gradually it will take shape! The sellotape helps to keep both your wings as symmetrical as possible too!


Step Ten:

I now like to apply lashings of mascara! 
If you want you can add falsies but on this occasion  I did not. At this point I like to take a step back look in the mirror make sure everything is blended. Sometimes  I like to add a little more colour to my outer crease. Today I did this and used Sketch to deepen the Plum colour.

Step Eleven:

Remove the sellotape from the eye area. I like a smoked out lower lash line so I then repeat all of the above steps on my lower lash line.

Step Twelve:

I then brushed my eye brows up and filled them in with Rimmels brow pencil. I then set them in place with Collections brow mascara in clear.


Step Thirteen:

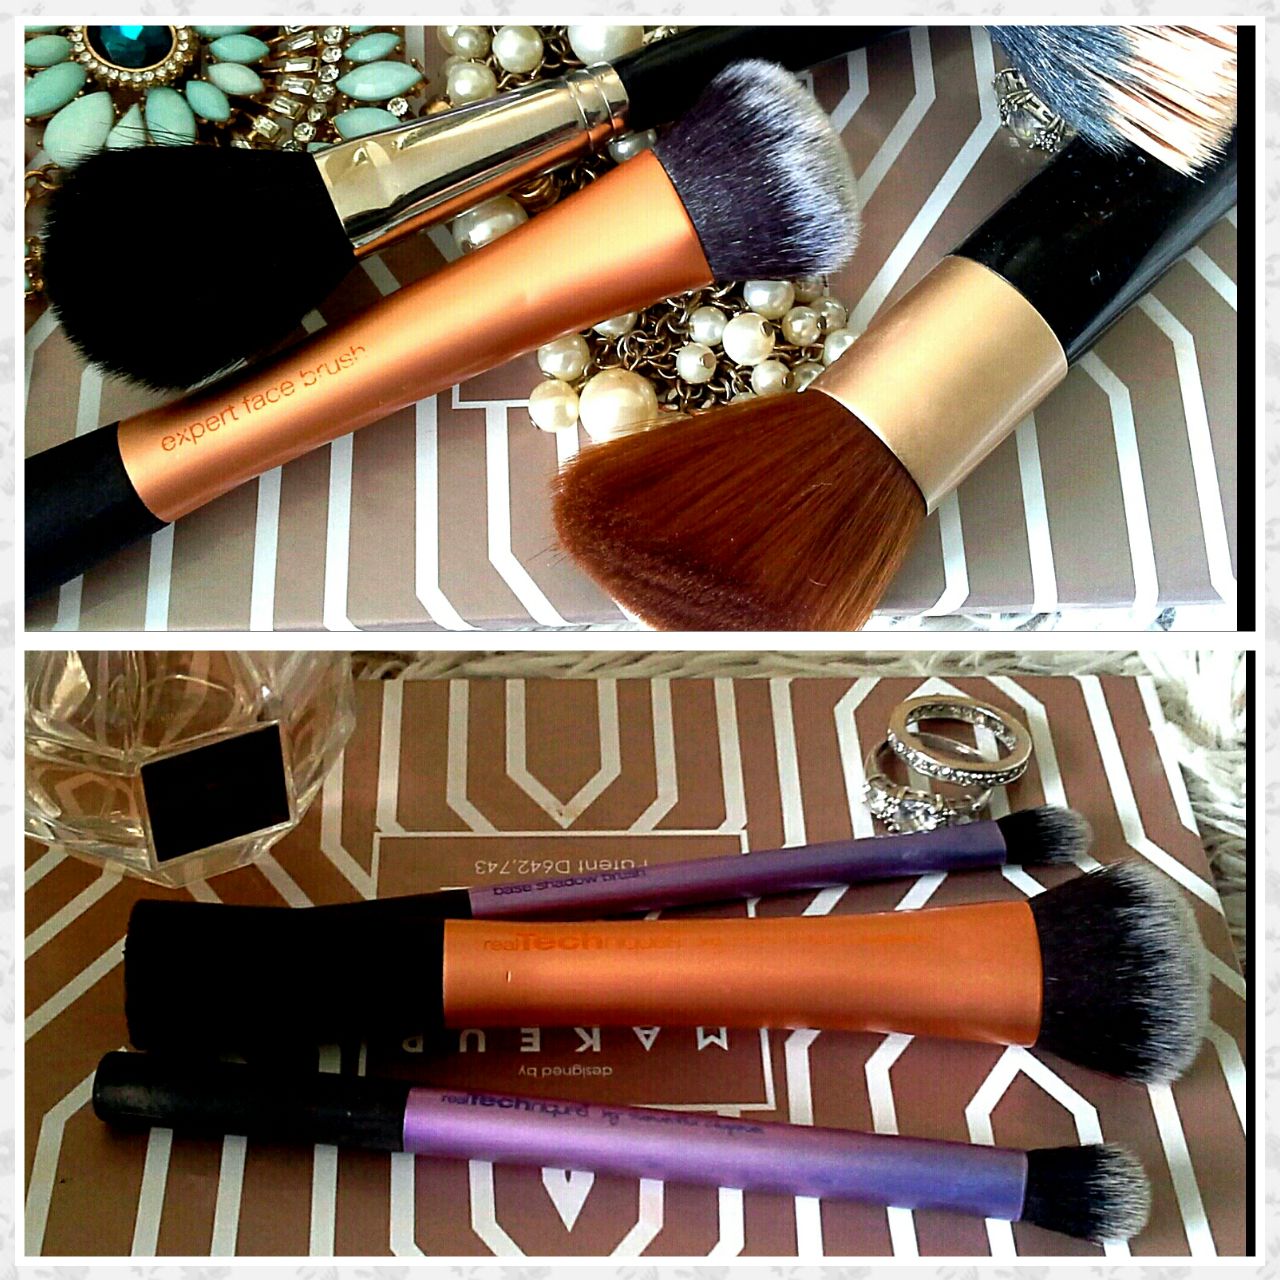
I applied my L'oreal foundation in True Match in the shade w4 all over my face with my Expert face brush from Real Techniques.  I then started to high light my face using my Mac Pro Long Wear Concealer again. I applied this along the side of my nose down as far as my nostril and then up towards my temple. It should look like an upside down triangle. I blended this in with my fingers. The heat helps to work the product into the skin. To sculpt my face I used my Rimmel Match Perfection in Natural Beige. This is a few shades darker than my skin so it added a shadow, perfect for contouring! I added this underneath my cheek bones and alone the forehead. This creates depth and dimension.

Step Fourteen:

I now like to set my skin in place, to do this I used my Mac Mineralise Skin Finish in Medium all over my face. However under my eyes I used Rimmels Stay Matte all day powder to keep the under eye bright. To set the contoured areas I used MSF in Medium deep. To enhance my contour I used Nyx's blush in Taupe. To contour my Nose I used Benefits Hello Flawless powder in Beige.


Step Fifteen:

This is my FAVOURITE part of the make up look! 
I apply Macs Soft and Gentle onto the highest points of my face for that GLOW! Yaaass!
And lastly for the lips! I used Inglots Lip Crayon in 14 for that nude lippy! I then used a L'oreal nude lip gloss on top to add that shine!


Thank you all so much for reading this Blog!
I hope you learnt a trick or two!

Love Eleanor x

Friday, 8 May 2015

My Everyday Make Up

Quick and Easy Make Up


Hi everyone! 
Today I am going to show you I created this quick and easy make up look! This is my go to look when I am in a hurry, which lets face it is all the time! This look takes only about ten minutes, and if you hadn't ten minutes I am sure you could leave out a step or two that you feel you don't need.

Step One:

I always like to start my eye make up first, just in case I have fall out from my eye shadows.
I always prime my eye lids to remove any unwanted pigment. Today I used "w7" concealer in the shade "fair". I then set this concealer using a light dusting of "Rimmels" "stay matte all day" powder in the colour "translucent".

Step Two:

I then quickly swirl my eye brush into my bronzer, today I used my bronzer from "Catrice". I applied this all over my lids and blended into my crease. This technique really opens up hooded eyes making you look more awake. I then added "Macs" "Soft and Gentle" to my inner corners and my brow bone to make them pop and to brighten up the area in general. If you have time I would suggest that you then go over your crease again with a fluffy blending brush to blend the high lighter and bronzer in. The brush I used was "Inglots 6ss".


Step Three:

I then curled my eye lashes, this is a step you could skip if you do not have enough time! But for me it helps to open up my eyes. I then apply a voluminous mascara to the both my upper and lower lashes. When the Mascara has dried I applied some of the "Catrice" bronzer to my lower lash line, again you could skip this step.

Step Four:

I then quickly filled in my brows. On a everyday basis I personally do not like over filling in my brows as it can look too harsh. I quickly filled in my brows using a "Rimmel" brow pencil. I also kept brushing out the brows with the spoolie to remove excess product. I do recommend that you add some shape to your brows everyday as they do frame your face. If you are not confident with your brow game try a brow mascara. "Collection" do a brilliant brow mascara and they sell it in a variety of colours.


Step Five:

For my foundation I did not need a lot of coverage as my skin was quite clear. So I mixed my "Rimmel" "wake me up foundation" with a skin illuminator from "L'oreal". This gave my skin a sheer coverage and added luminosity. I also love been able to see my freckles, it makes you look healthy! I dabbed the foundation into my skin using my "Expert face brush" from "Real Techniques", this technique helps to lock the foundation into the skin. 

Step Six:

I then added a touch of concealer under my eyes and down the centre of my nose to conceal any darkness I had. I applied "w7" concealer in the shade "fair" with my clean fingers as the heat from my fingers helped to push the product into my skin flawlessly.


Step Seven:

I then quickly dusted my face with "Rimmels" " stay matte all day" powder in the shade "translucent". After I applied this all over my face I added bronzer for warmth. Today I used "Macs" Mineralize Skin Finish" in the shade "medium deep". I did not use this to contour the face but rather to add warmth so I applied it on my cheek bones the side of my forehead and down my neck. 


Step Eight:

I then added more glow to my skin! I am obsessed with that GLOW! I applied "Macs" "soft and gentle" to the highest point of my cheek bones, down the bridge of my nose, above the arch of my brow and on the cupids bow.

Step Nine:

I then completed this look using a brown coloured lip liner from "Catrice" in the shade "Hey Macadamia a hey". 


Thank you all so much for reading my Blog.

Love Eleanor x


Friday, 1 May 2015

My Favourite Brushes

My Must have Make Up Brushes for your  Make up Base


Hi everyone!
Today I am Blogging about my favourite brushes for your foundation base. Did you know that a lot of people still apply make up without brushes? I would not be able to cope with out these few trusty brushes of mine!

I think for everyone its a big must to look our best and enhance our natural beauty! Well I find that these brushes have helped me achieve just this!

I will start of with my favourite brushes that I use to apply my base with! 
( like my foundation concealer and powders)


It gives me great confidence when I achieve what I think is a flawless base! Just a tip I always apply my primer or moisturiser with my fingers! As I feel the heat from my hands warms up the products and helps the skin to absorb the product blurring out fine lines and pores.

I love to apply my foundation on a daily basis with my "Real Techniques" "Expert face brush". This brush will help you achieve a flawless base. I use this brush in circular buffing motions on the skin and this really blends in the foundation into my skin given a natural look to the skin. This  technique helps to blend away any harsh lines. The brushes bristles are 100% synthetic and unlike natural haired brushes this brush will not soak up your product. Another bonus is that synthetic haired brushes are less likely to shed. Also this amazing quality brush is easy to shop its readily available in a boots near you and is quite inexpensive! This brush retails for about 14 euro, I think this is a bargain as in return you get a flawless foundation application!


After  I have applied my foundation I generally apply concealer, however sometimes I don't bother if I am having a good skin day!
For this application I have two favourite brushes both again from "Real Techniques".
If I am doing glamorous make-up  for a night out I tend to prefer to use the "deluxe crease brush" to apply my under eye concealer. Right now it is really popular to have that Kim Kardashian sculpted look. At times I like to apply my concealer using the technique Kim K made famous. This "deluxe crease brush " is so easy to use and buffs the concealer into your skin effortlessly giving that desired Kim K look. The brush itself is domed shape which makes it so easy to apply concealer into those hard to reach areas. For instance your eyes inner corners where all that unsavoury pigment is. Now with just a flick of this brush it covers up that pigment. Similarly to the "Expert face brush" the bristle are 100% synthetic hair, also for those of you who are concerned these brushes two brushes are cruelty free!!!
If  I am applying concealer to my everyday face make up I like to use a fluffy brush as I feel it blends the concealer in a lot faster. The brush I use is "Real Techniques" "Base shadow brush". I also love this brush for spot concealer as it applies the product accurately and can blend the edges away without disturbing the concealer on the spot. 

After I have allowed my foundation and concealer to set I move onto my powder application. For this I use a brush I have had with years from "Elizabeth Arden". The brush is shaped flat and at an angle and I love this as it presses the powder into your skin at specific locations. I love this as you can build up coverage if you want to or apply a light dusting of powder. I have washed this brush so many times and its still retained its shape and its bristles! So mind your brushes ladies there an investment and will last you years if you mind them!


 After I have applied my powder I will apply my blush and bronzer. For this I use the same brush which I know some people will frown upon! But Heeey you do you Boo! I use the "Inglot 15bjf" this brush is small and fluffy. It is essential that these bristles are soft and are not excessively firm as we do not want to disturb our concealer. This brush is made from natural hair which makes it extra good for blending product and soaking up extra product you may have dabbed onto your skin. I love a natural haired blush/bronzer brush as I love to really blend my blush/bronzer into my base knowing that I wont have any harsh lines left as the bristles will absorb the product.


If I am doing glamorous make-up I love to add in a spot of contouring! For this I like to use a small fluffy brush to help carve out my cheek bones effortless. The "Inglot 6ss" brush does exactly this, avoiding a muddy looking contour. When applying your cheek contour it is so important to blend and blend and blend tirelessly with your "Inglot 6ss" to avoid harsh lines and an un-natural look to the face. This brush will do most of the work for you making your contour a lot easier!

This Brush is so handy to have! Even I need to invest in more of them! The "Inglot 6ss" is incredible at applying your high-lighter for that glow we all love! It literally packs on your high lighter without given you that cake face look! Yaaaaaasssssss!! Just remember that when you have packed on your high-lighter with this brush you must blend away the edges!

I hope you enjoyed reading this Blog! I highly recommend you invest in some of these brushes for your own make-up kit! 

Love Eleanor x